There are two methods to upload a theme to a WordPress site: via the Admin Panel and through FTP. The most recommended approach is using the Admin Panel, as it’s simpler and more user-friendly. However, in some cases, file size limitations may prevent direct uploads. For this reason, this guide covers both methods.
Note: Unzip the downloaded Carrapackage from ThemeForest, locate the “Carrafiles” folder, and use the Carra.zip file inside it for installation via WordPress or FTP.
Step 1: Log in to your WordPress Admin Panel.
Step 2: Navigate to Appearance > Themes
Step 3: Click the Add New button, then select Upload Theme.


Step 4: Click Choose File, select Carra.zip file, and hit Install Now.

Step 5: Once the installation is complete, click Activate, and you will be redirected to the Themes page with Carra activated.
Theme is now successfully installed and ready to use!

/wp-content/themes/ in your WordPress installation directory.Theme is now successfully installed via FTP!
After activating Carra, it will redirect to Theme Welcome page.
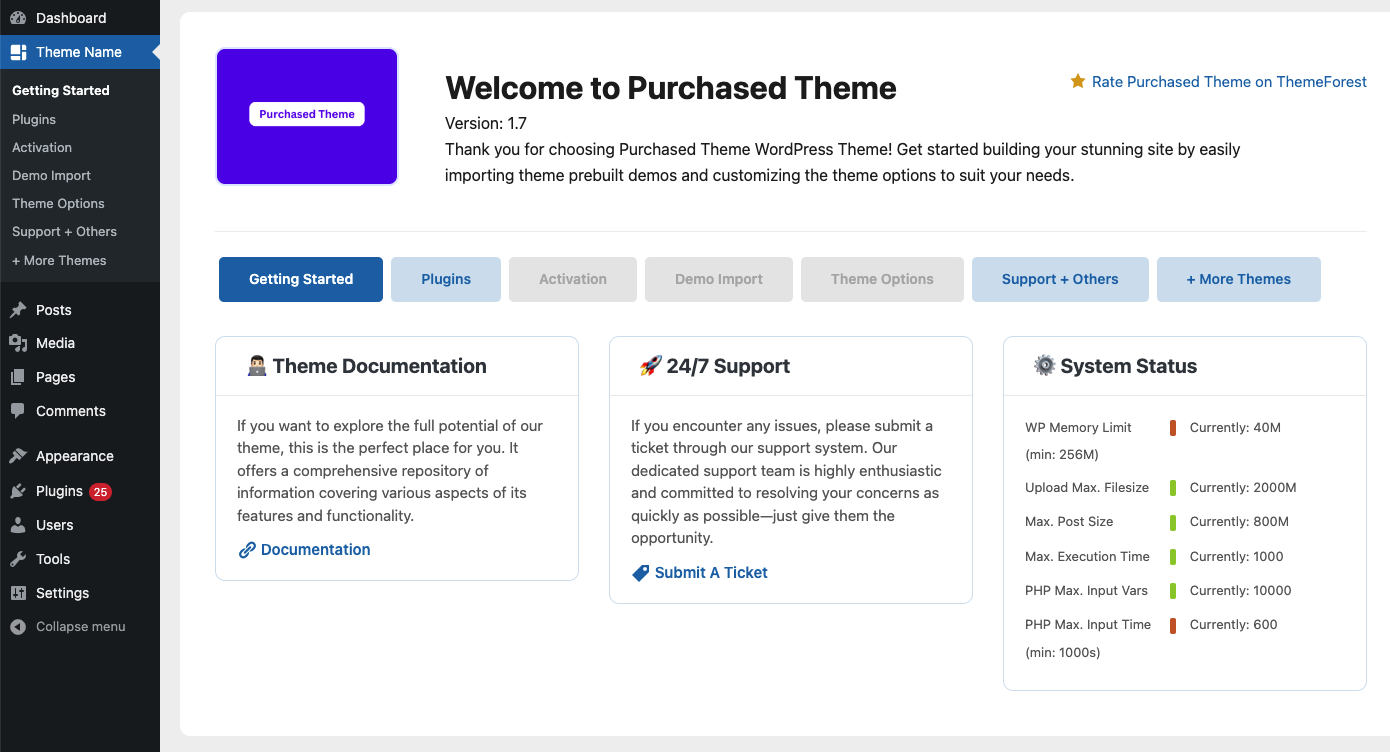
Next, click the “Plugins” button, which will take you to the Install Required & Recommended Plugins page.
Click “Activate All Plugins”, and it will automatically install and activate the required plugins.

The required plugins are crucial for the proper functioning of the Carra theme. Without them, the core features of the theme will not work as expected.
The recommended plugins provide additional functionality to enhance your site, but they are optional and can be removed if not necessary.