To change the loader (Preloader) name in your WordPress project using Elementor Header/Footer Builder, follow these steps:
1. Log in to your WordPress admin panel.
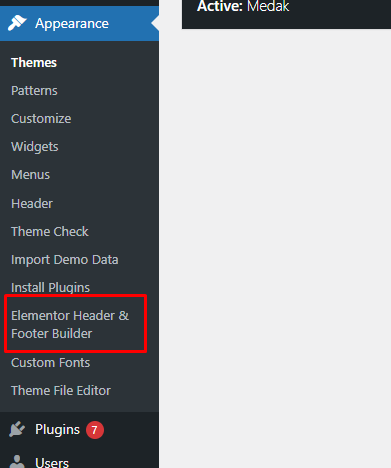
2. Go to Appearance > Elementor Header & Footer Builder.
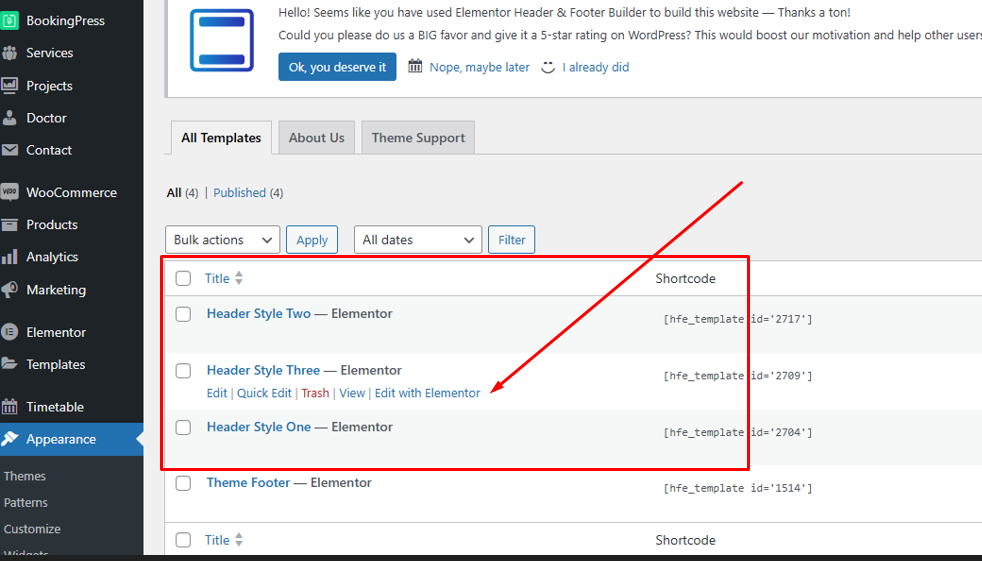
3. Select the header template for edit (e.g., Header One, Header Two, or Header Three).
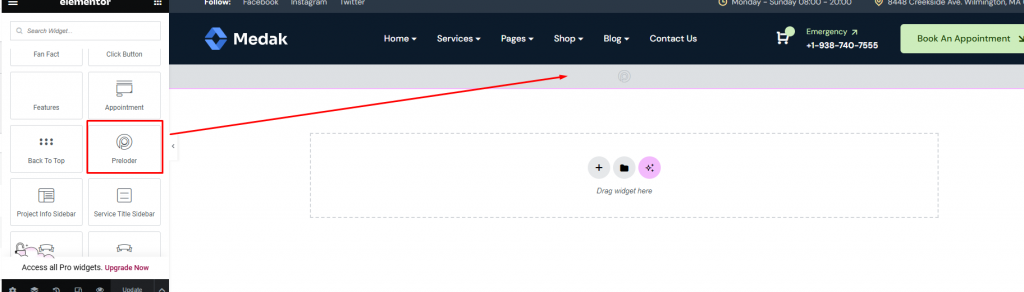
4. Locate the Preloader Widget: Look for the preloader widget or section in the header template. This may be named something like “Medak Preloder”
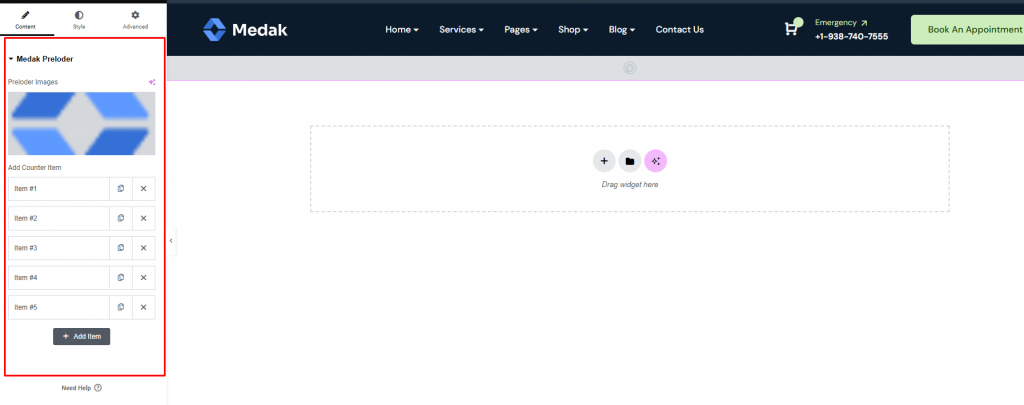
5. Edit the Preloader Settings: Click on the Preloader widget to open its settings in the Elementor sidebar. Modify the text or name displayed within the Preloader.
6. Update the Changes: Once you’ve made the changes, click Update in Elementor to save your work.
7. Preview the Site: Check your website to ensure the changes to the loader name are applied correctly.